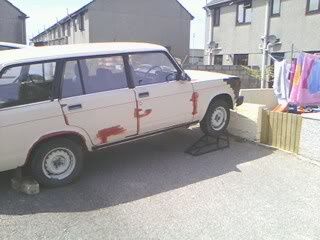
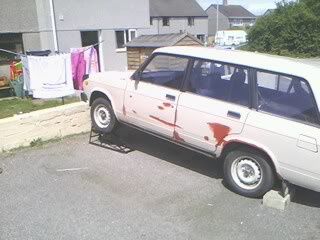
Firstly I've moved it around the back and put it up on ramps. There is no way on this gods earth I am going to be lying on a gravel drive when I weld it (or do anything underneath for that matter)
Notice the concrete handbrake on both back wheels (Don't want that sticking on now do we)
Next job was to check the reverse light switch, which meant rigging up some sort of test device
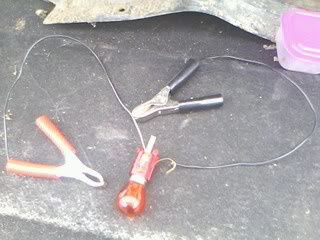
I've soldered an extra piece of metal to the bulb holder so that I can slide clips on the test circuit
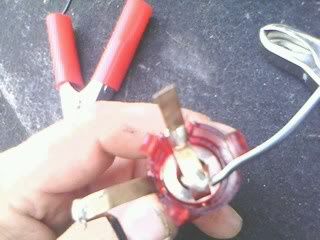
Yes is does work
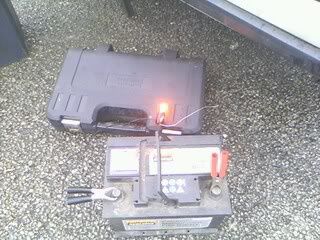
This simple device (and a spare battery) proved that the wiring to the back of the car is fine, but not the reverse light switch. (The givaway though was that they were unplugged in the first place)
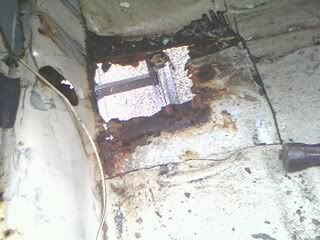
Next it was time to pull the front carpet out and see the extent of the job.
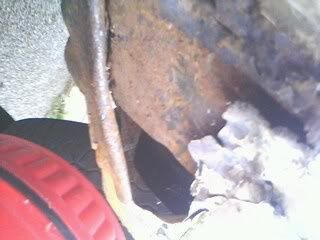
The drivers side....not to bad
Thats the top of the outrigger you can see in the middle of the pic.
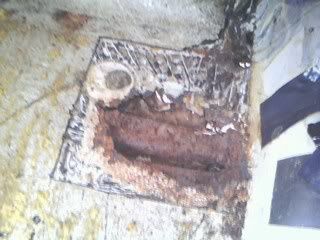
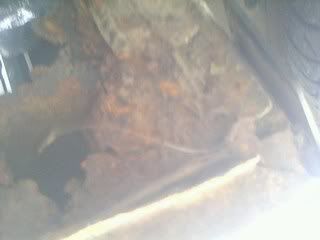
Now, the passenger side
Oh dear.......
Again you can make out what is left of the outrigger
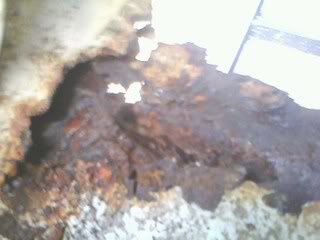
From underneath
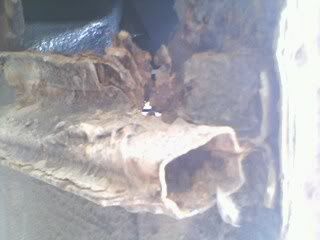
Again from underneath showing the jacking point. (This list of parts seems to be getting longer and longer.
On the plus side, the inner wing on the drivers side seems to be ok at the bottom where it meets the sill
Now just waiting for some dry weather now so I can get out in the garden and have a play with the borrowed welder and some steel plate untill I feel confident at tackling the car.
In the meantime, a little bit of bedtime reading for me